
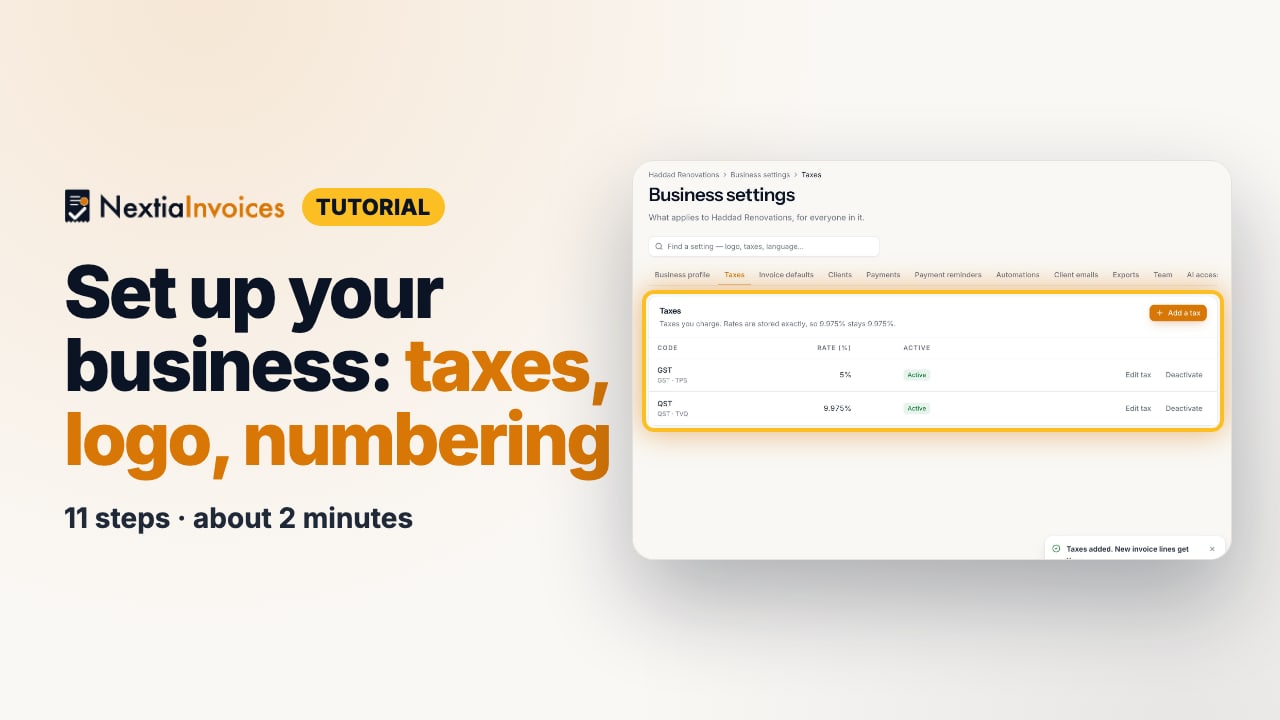
Set up your business: taxes, logo, numbering
Before your first invoice: your contact details and logo, your sales taxes with their registration numbers, and how your invoices are numbered.
- 11 steps
- About 2 min
- Checked against NextiaInvoices on October 27, 2026
The video is on its way. The step-by-step and written versions are ready now.
- 1
A new business starts with a short setup.
Each step opens the right settings. Most can be skipped and done later.
- 2
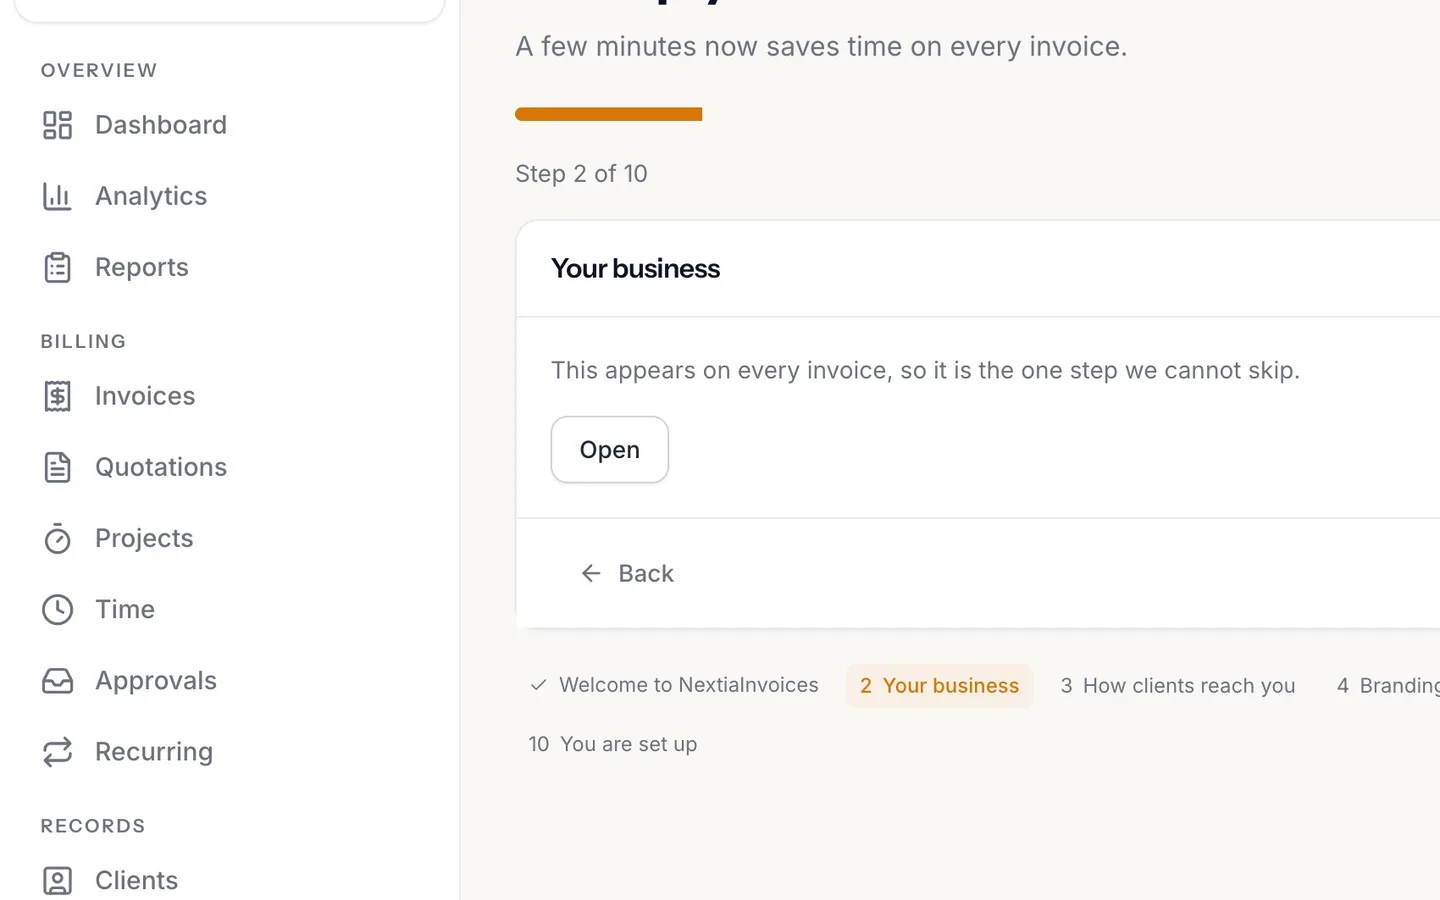
On Your business, select Open.
It's Business settings → Business profile.
- 3
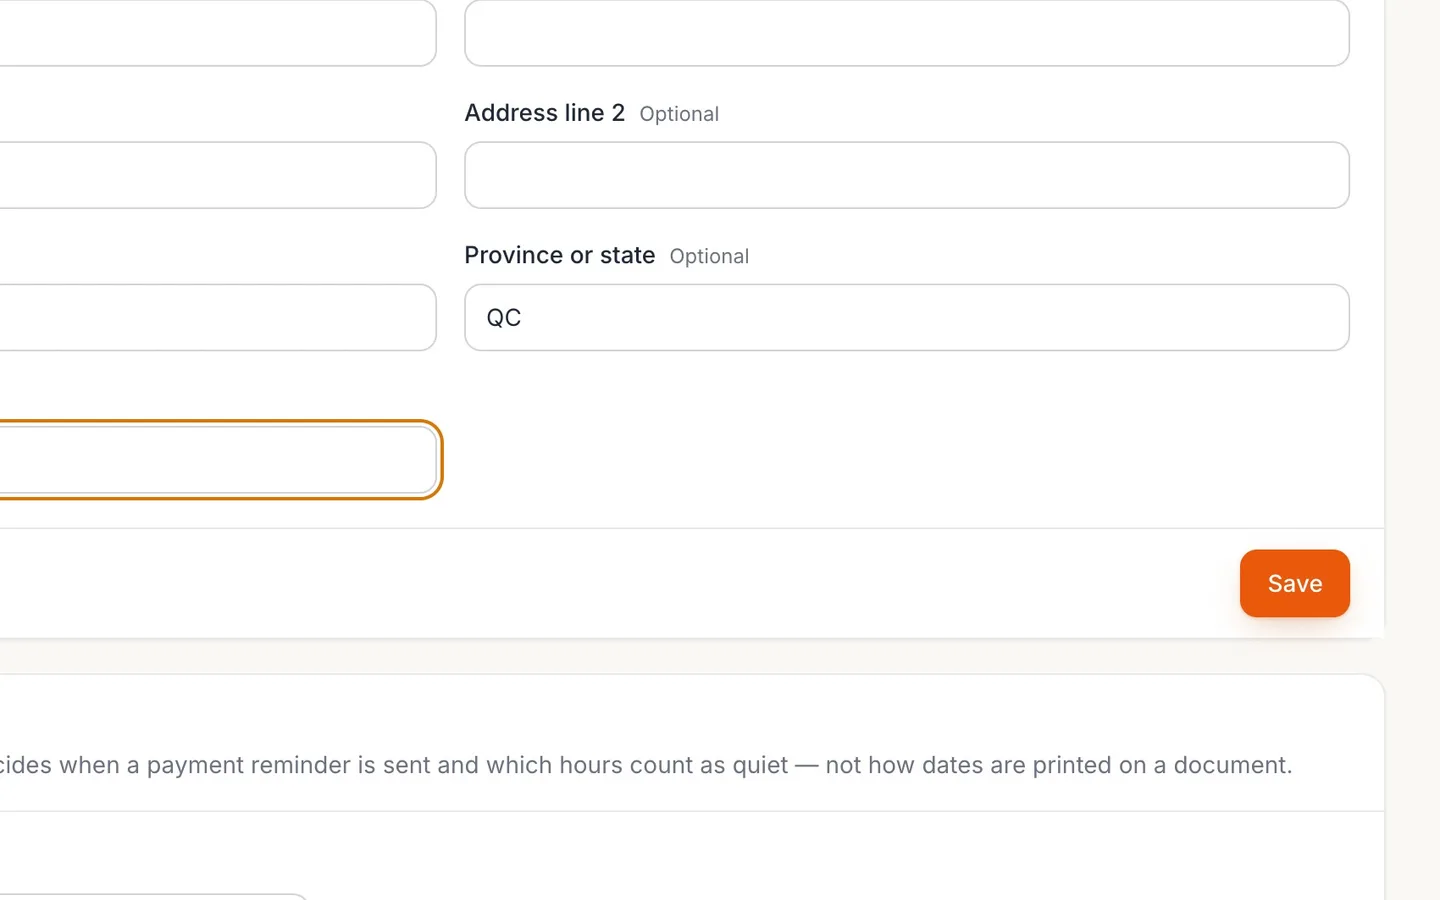
Fill in your Contact details, and select Save.
They're printed on every invoice and quotation you send.
- 4
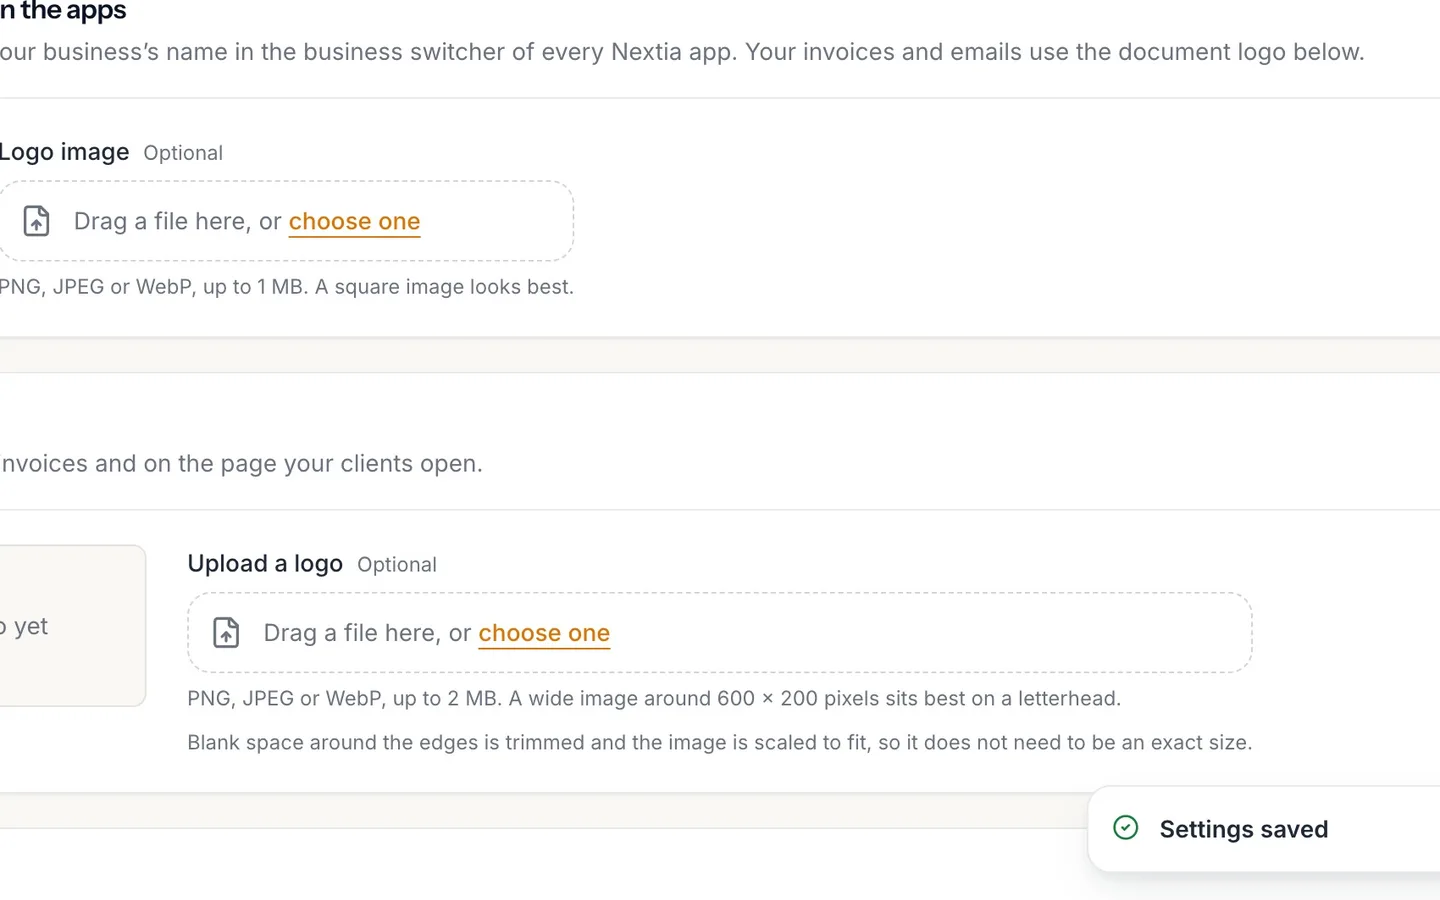
Under Logo, choose your logo's image file.
PNG, JPEG or WebP. Blank space around it is trimmed for you.
- 5
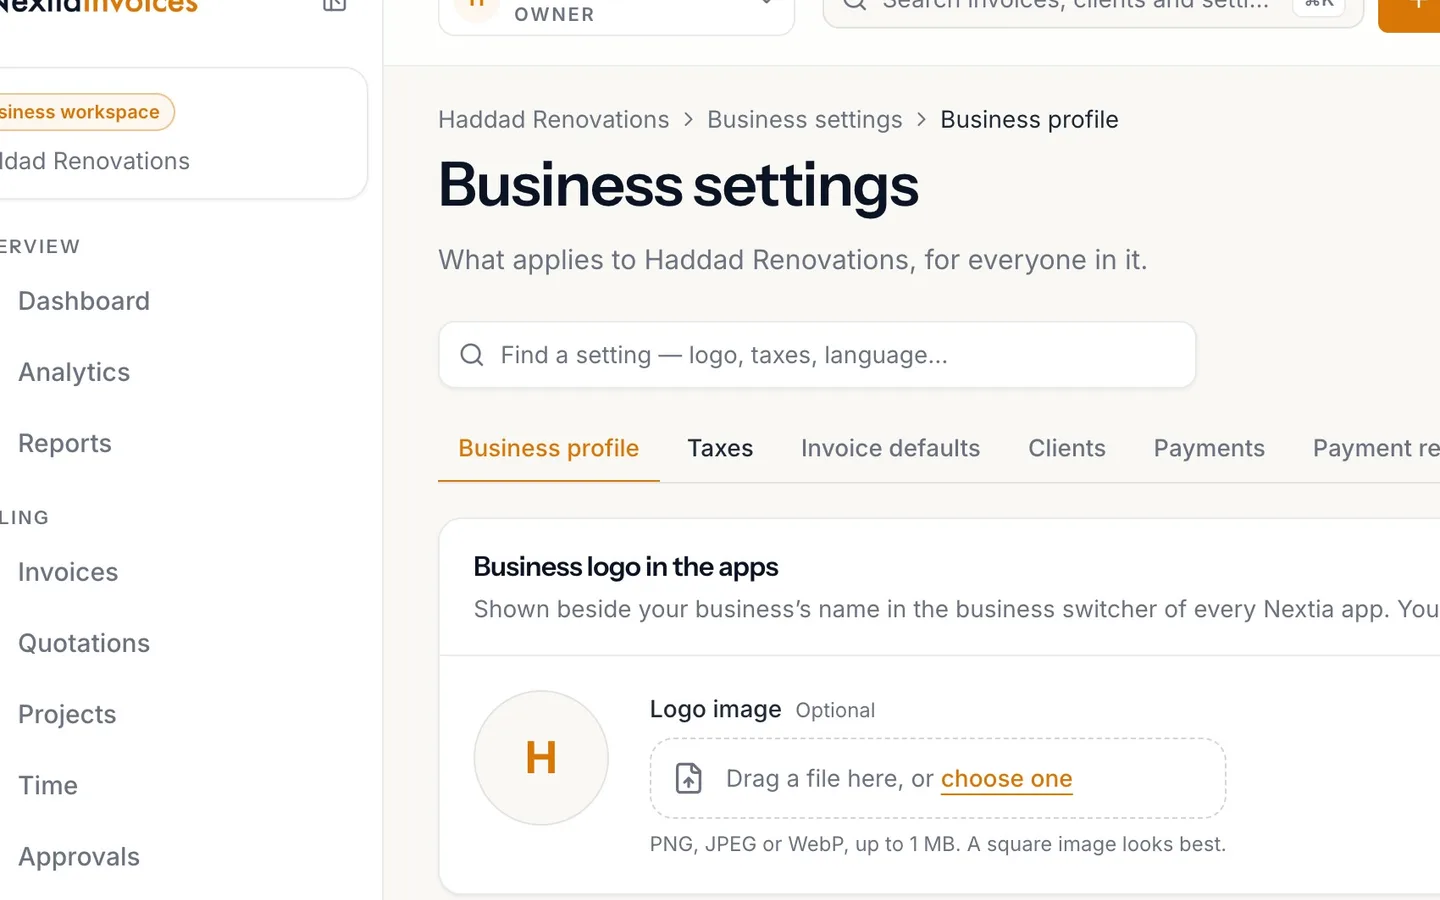
Select Taxes.
Your province's sales taxes are ready to add. Add them only if you're registered to collect them.
- 6
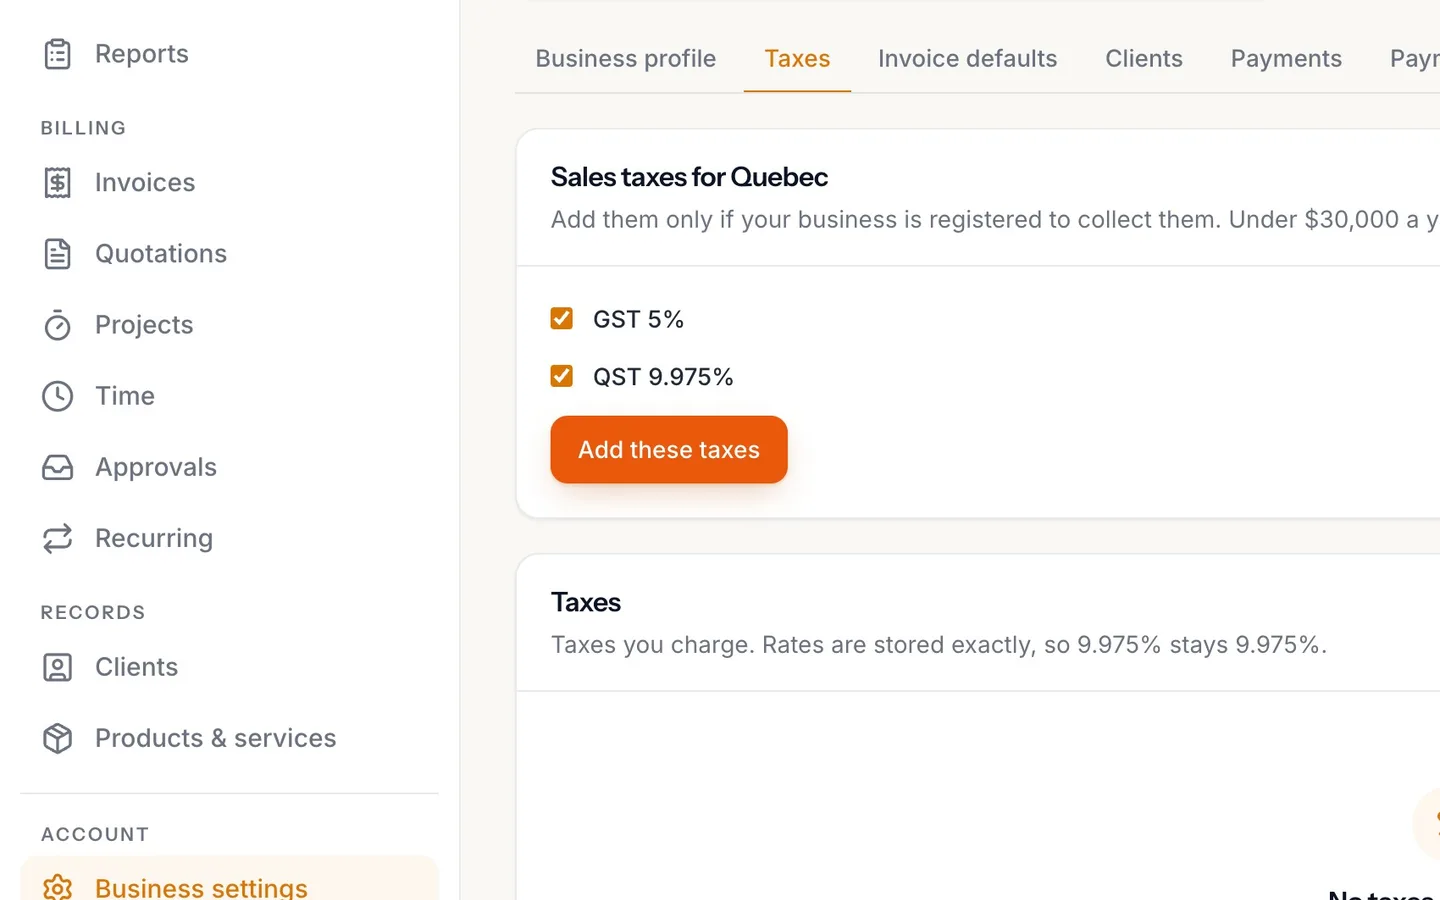
Select Add these taxes.
New invoice lines get them.
- 7
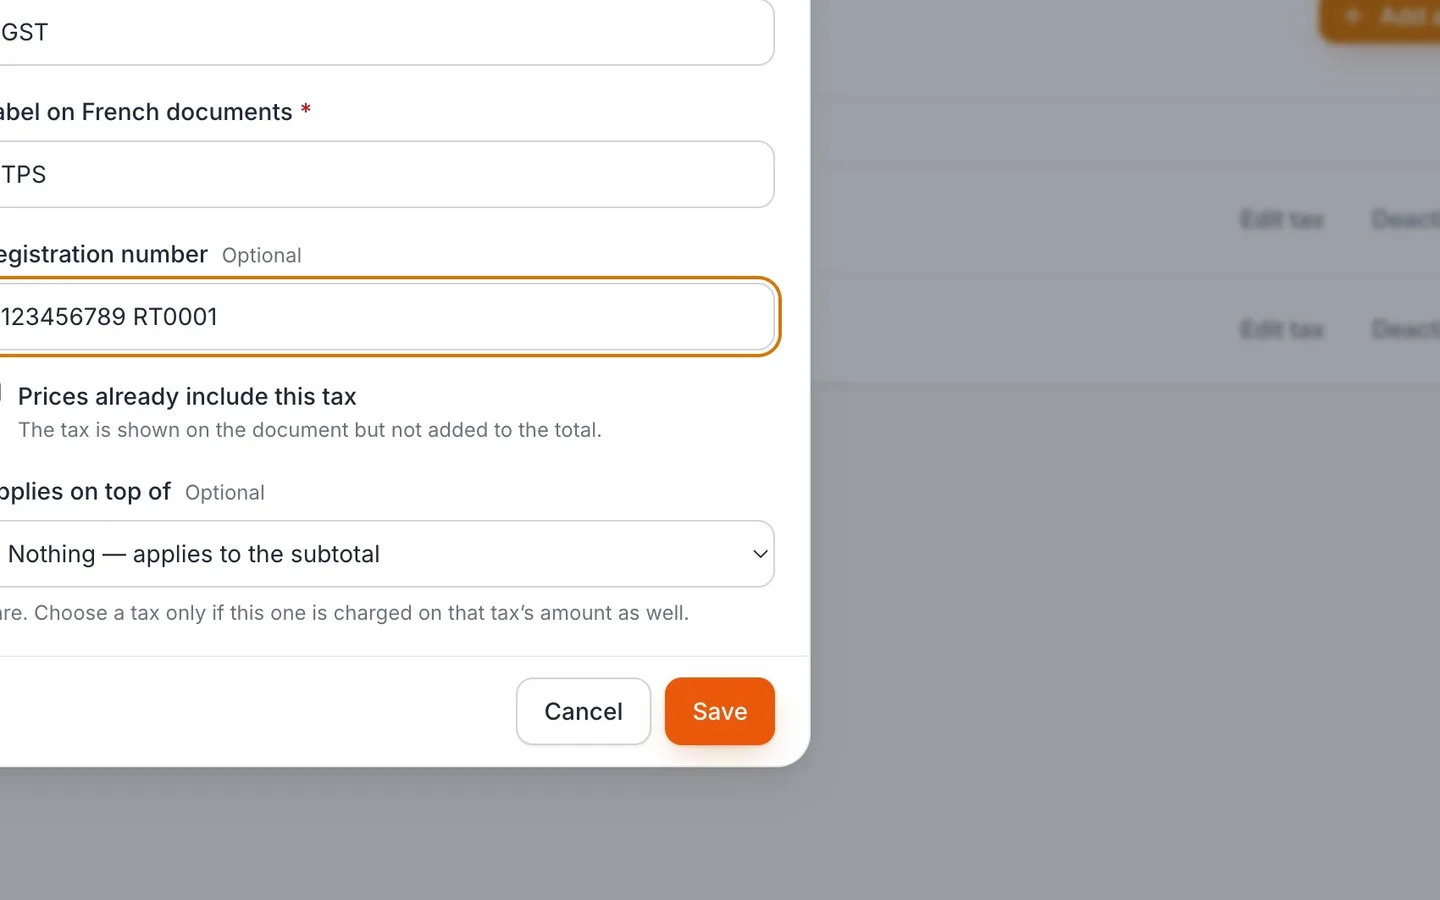
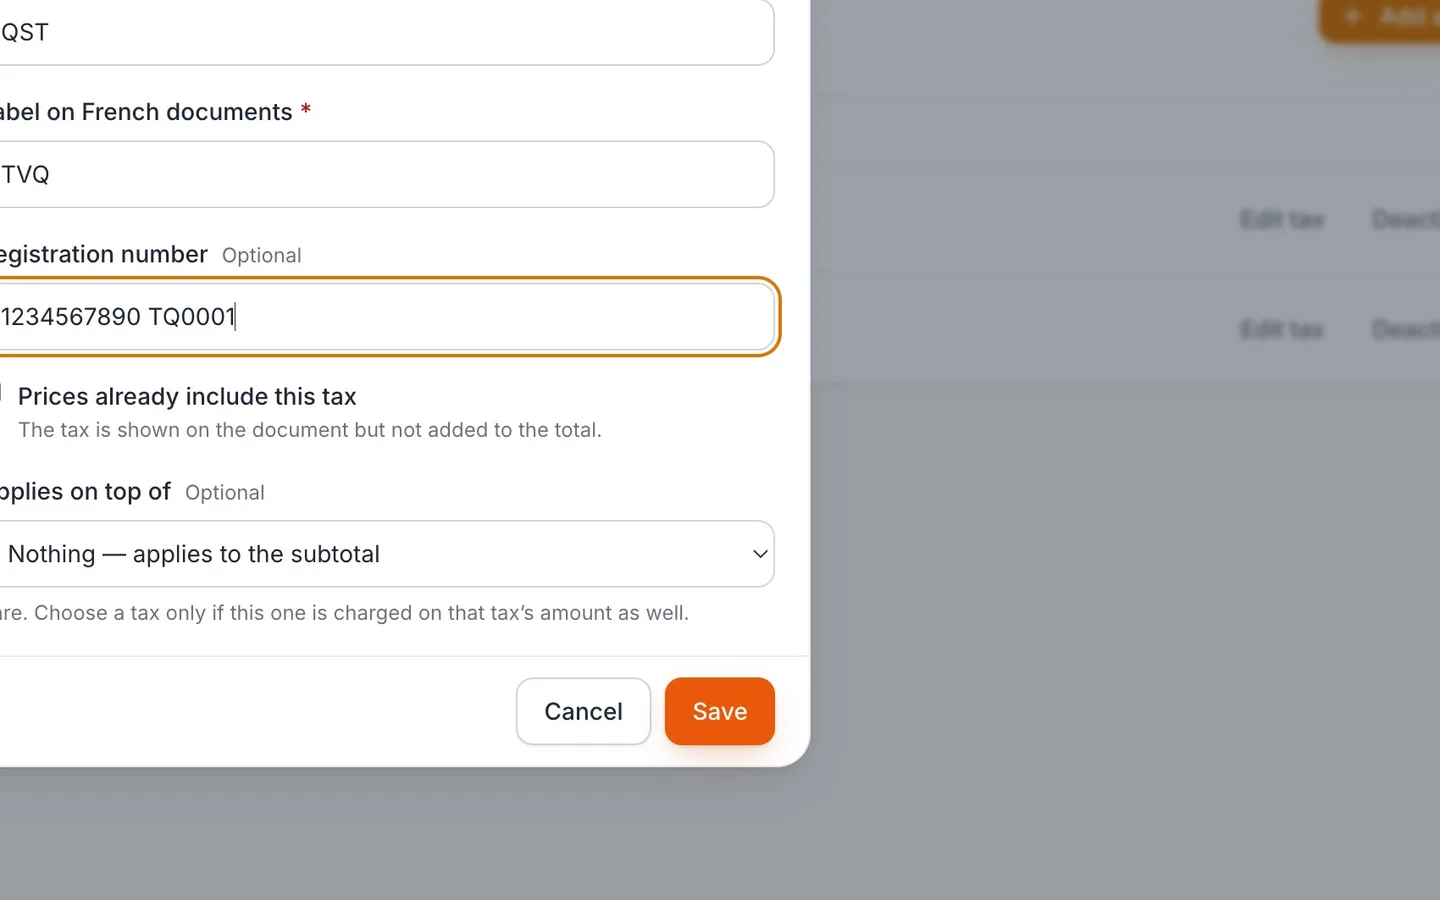
Select Edit tax, enter the Registration number, and save.
It's printed beside the tax on your invoices.
- 8
Do the same for the other tax.
- 9
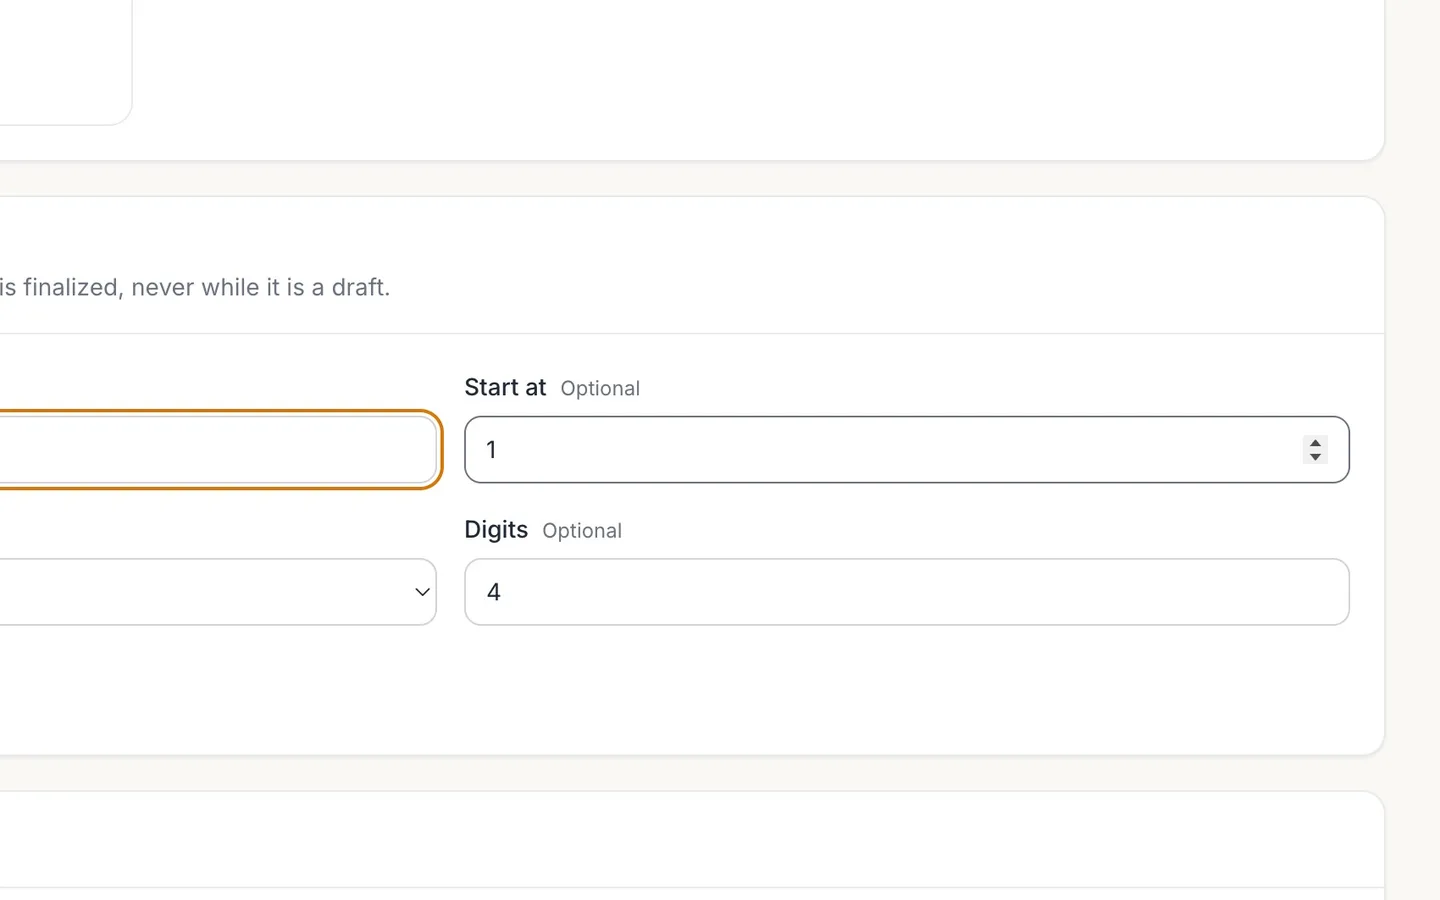
Select Invoice defaults, and set the Prefix and where numbers Start at.
Moving from another system? Start after your last number.
- 10
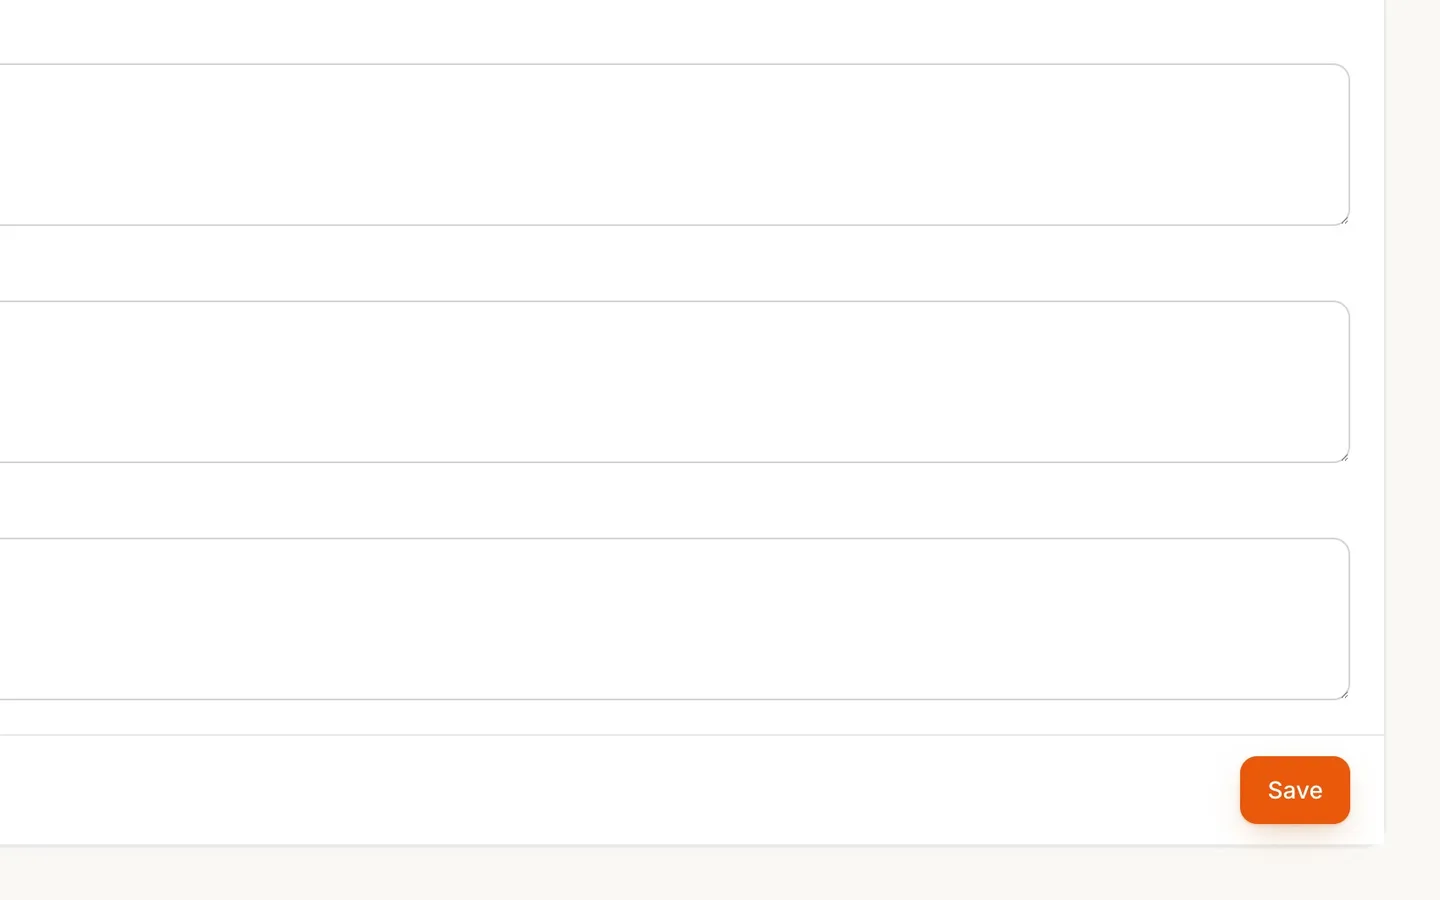
Choose the Sequence, and select Save.
Restart each year begins each year at Start at again. Never restart carries on.
- 11
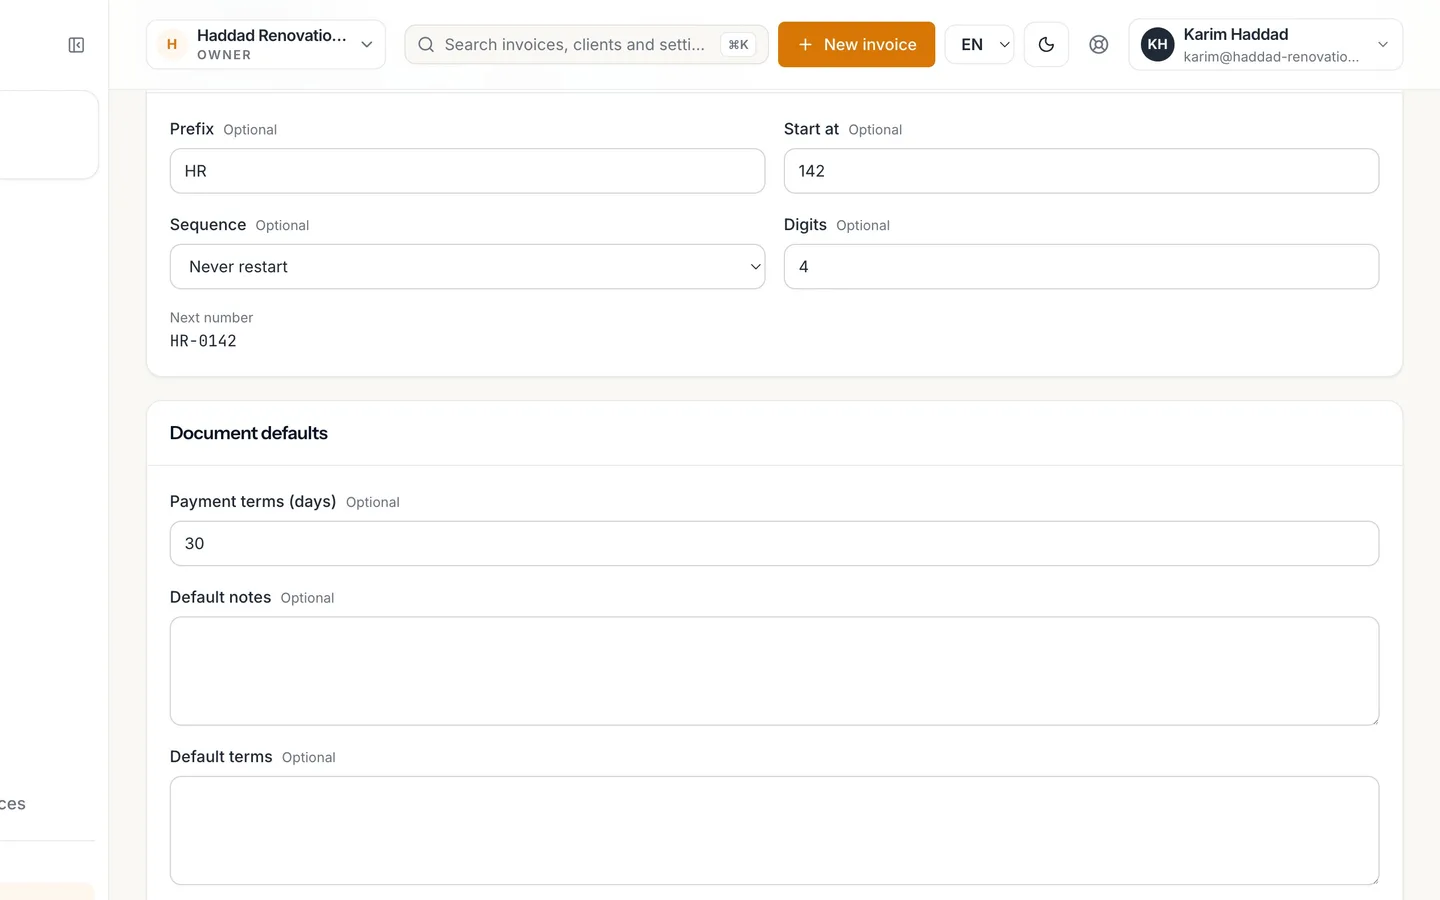
Next number shows what your next invoice will be.
A number is given when an invoice is issued, never to a draft.
Set up your business: taxes, logo, numbering
Before your first invoice in NextiaInvoices, add your contact details and logo, your sales taxes and registration numbers, and how invoices are numbered.
Before you start
This guide is for a business that has just started using NextiaInvoices and wants its first invoice to look right: your details and logo at the top, the right sales taxes on every line, and numbers that follow on from the invoices you already sent. It takes a few minutes, and you only do it once.
What you need:
- To be the business's owner or an admin. Other roles can see these settings but can't change them.
- Your logo as a PNG, JPEG or WebP file, up to 1 MB.
- Your GST and QST (or GST/HST, PST) registration numbers, if you're registered to collect those taxes.
- The number of the last invoice you sent, if you're moving from paper or another system.
In the video, Karim sets up Haddad Renovations, a renovation business in Quebec.
Step by step
-
Start with the setup wizard
A new business opens on Set up your business, a short wizard of ten steps: your business, how clients reach you, branding, taxes, what you sell, invoice defaults, getting paid and your team. Each step has an Open button that takes you to the real settings screen, so you fill in each thing once, in the place you'll find it later. Your business can't be skipped, because it appears on every invoice. The other steps have Skip for now, and your progress is kept: you can close the tab and finish setting up later.
-
Open your business's profile
On Your business, select Open. You land in Business settings, on the Profile tab. It's the same screen you reach later from Business settings in the menu. The profile is shared by every Nextia app your business uses, so a change made here shows up in the others too.
-
Fill in your contact details
The Business details card holds what clients see on what you send them: Business name, Legal name (if it differs), Business email, Phone, Website, Address, City and Postal code. Fill in what applies and select Save on that card. Each card on this page saves on its own, so save before moving to the next one.
Further down the page, Region sets your country, province, Business time zone, Currency and Language. The time zone matters more than it looks: reminders, schedules and what counts as "today" for your business all run on it. Language is the one used for clients who haven't chosen their own.
-
Add your logo
In Logo and colours, select Upload a logo and choose your image file. It's uploaded as soon as you choose it, and shown on your documents and emails. To change it later, select Replace logo, or Remove to go back to no logo. The same card has Brand colour and Accent colour, each a hex code such as #1F6FEB, saved with the card's Save button.
-
Open the Taxes tab
Select the Taxes tab. If NextiaInvoices knows your province, a card called Your province's taxes lists its sales taxes, ready to add: for Quebec, GST at 5% and QST at 9.975%. The usual ones are already ticked. A tax marked Depends on what you sell only applies to some goods and services, so tick it only if what you sell is taxable.
Add sales taxes only if your business is registered to collect them. Under $30,000 a year in sales, you may not have to register for GST/HST.
-
Add the suggested taxes
Select Add selected. The taxes move into the Tax rates table, with their name, rate, how they apply and their status. A suggested tax is added by default to new invoice lines, so from now on the taxes are there when you write an invoice. These tax rates are the same in every Nextia app your business uses.
-
Add the GST registration number
On the GST row, select Edit. In the window that opens, type your number in Registration number and select Save. It's printed beside that tax on your invoices, which is what a client needs to claim the tax back.
The same window lets you change the Name, Rate (%), the Label on English documents and Label on French documents, and three options: Calculated on top of (for a tax charged on top of another), Included in prices (your prices already contain the tax) and Added by default (new lines get this tax unless you take it off).
-
Do the same for QST
Select Edit on the QST row, enter its Registration number, and Save. Your business-wide tax numbers can also be entered on the Profile tab, in Tax numbers (Business number, GST/HST number, QST number, PST number), which are printed on invoices and receipts where they apply.
-
Set the prefix and starting number
Select the Invoice defaults tab. Below the Invoice template choices is Invoice numbering:
- Prefix: the letters in front of every number. It starts as INV.
- Start at: the number a sequence begins at. It starts at 1. If you're moving from another system, start after your last number. Karim's paper invoice book stopped at 141, so he types HR as the prefix and 142 in Start at.
- Digits: how many digits the number is padded to. It starts at 4, so 142 is written 0142. A number never gets cut short: invoice 10000 stays 10000.
-
Choose the sequence and save
Open Sequence and pick one:
- Restart each year: the default. Numbers include the year, like INV-2026-0001, and each January the sequence begins again at Start at.
- Never restart: one sequence that carries on forever, like HR-0142, HR-0143.
Karim's numbers carry on from his book, so he picks Never restart. Then select Save at the bottom of the page. The same Save also keeps the Document defaults card: Payment terms (days) (30 to start with), Default notes, Default terms and Footer.
-
Check the next number
Next number shows how your next invoice will be numbered, here HR-0142. It reads the saved sequence, so check it after you select Save. A number is only given when an invoice is finalized, never while it's a draft, so drafts you delete never leave gaps.
What happens next
Your next invoice picks all of this up: your business details and logo at the top, your taxes on each new line with their registration numbers, your payment terms setting the due date, and the next number when you finalize it. Because the profile and tax rates are shared, NextiaTax and NextiaBooking see the same details if your business uses them.
The usual next task is your first invoice. Back in the wizard, What you sell opens Products & services, where you add the services and products you sell, so writing an invoice is a few clicks.
If something goes wrong
My province's taxes aren't suggested
The suggestions come from the province on your profile. Check Province or state in the Region card. If your taxes are still not listed, select Add a tax on the Taxes tab and enter the name, rate and labels yourself.
I can't change anything on these screens
Business details and taxes can only be changed by an owner or an admin. Ask one of them, or ask for a role that can manage settings.
My invoices started at the wrong number
Start at is used when a sequence begins. Once your first invoice is finalized, changing it doesn't renumber anything or move the current sequence. Set it before your first invoice. With Restart each year, the next year's sequence begins at it again.
I changed the prefix but invoices still use the old one
A sequence keeps the prefix it started with, so numbers already being counted stay consistent. With Restart each year, the new prefix is used when the next year's sequence begins.
The logo won't upload
It must be a PNG, JPEG or WebP image of 1 MB or less. Save a smaller copy and try again.
Questions
How do I change my invoice numbers in NextiaInvoices?
Go to Business settings, then Invoice defaults, and change Prefix, Start at, Sequence and Digits under Invoice numbering. Select Save, then check Next number. Set these before your first invoice: a sequence keeps its prefix and starting point once it has begun.
Can I continue numbering from my old invoices?
Yes. Put your last number plus one in Start at, for example 142 if your last invoice was 141, and choose Never restart if you don't want numbers to start again each year. Your next finalized invoice gets that number.
Why doesn't a draft invoice have a number?
NextiaInvoices gives a number only when you finalize an invoice. That way every number in your sequence belongs to an issued invoice, and deleting a draft never leaves a gap.
Do I have to add GST and QST?
Only if your business is registered to collect them. If you're not registered yet, leave the taxes off and add them the day you register. Under $30,000 a year in sales, you may not have to register for GST/HST.
Where does the tax registration number appear?
The registration number you enter on a tax is printed beside that tax on your invoices. The numbers in Tax numbers on the Profile tab are printed on invoices and receipts where they apply.
Can I skip the setup and do it later?
Yes. Every step except Your business has Skip for now, and your progress is kept. Everything in the wizard is also under Business settings.
Can I stop charging a tax later?
Yes. On the Taxes tab, select Turn off on that tax. It stops being offered on new documents, and documents that already have it keep it. A tax is turned off, never deleted, so your past invoices stay as they were issued.